Hi, everyone. This is Tanner with trained by Tex for everybody today using the auto maxis this Autel Maxisys Elite. I’m going to show everyone how to control it using a laptop, so if you have a technician that does not have time to go test drive a car you can log in to the too remotely through a laptop.
In the shop, you can send someone else to go drive the car and he can watch the tool through the computer, also going to show everybody how to use the record functions in it, use the flagging function in it, how to play the data back and how to use mode six we’ll start out with the TeamViewer application so that everyone can see how to remote into it.
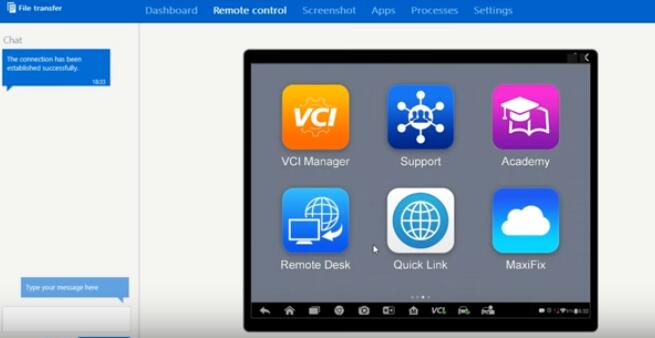
As you can see on my screen here, this is TeamViewer.When you go to control it you’re going to go through scroll through the screen on the Mac success and I’ll show you how to do that. Once we remote into it, you’re gonna click on remote desk. When you click on remote desk it shows teamviewer quicksupport and it says your ID goes in this box right here. Once you put that in you’re gonna hit connect to partner at thaT point on your Mac’s assist. it’s gonna box is gonna come out come up that says allow remote support you’re gonna hit allow now you can see it’s going to come up on my screen here click on Mac sucess. There right here is your remote desk that I was talking about so you would scroll over. You click remote desk and then that’s when it would pop up and you’ll see that spot that says my ID and then that’s again.
I have it hooked up to a 2005 Toyota Tundra on the data record function works the same whether you’re in obd or a vehicle manufacturer and it does not matter from one manufacturer to another.
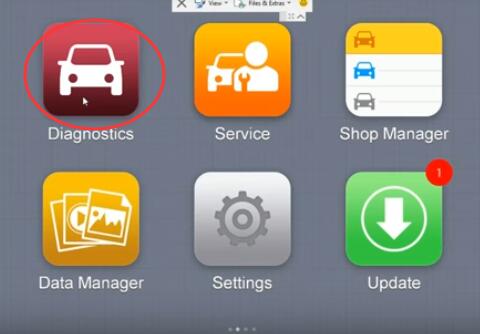
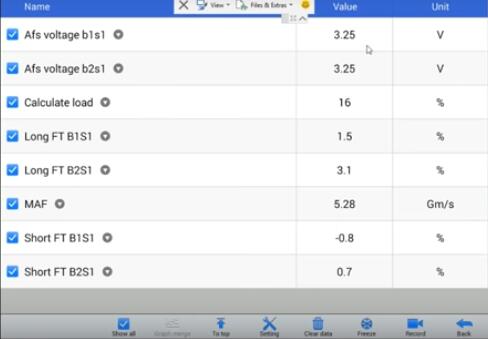
It’s all going to be the same so we’ll start out. You can go into your Diagnostics um you can clicking the pump to get into the tool, to get into the data and then you can like I say you can use Autel Scanner. You can use manufacturer specificdata whatever you want to do. you’re gonna go through and select what you want by clicking these boxes. You can scroll up and down through. You want to only select a pages worth um the max assess seems to have problems recording more than a page worth of data, So only select a page worth um at that point then just hit show I’ve what. I’ve selected here is the air fuel ratio sensors calculated load long and short term fuel trims and mass airflow signs are just for this example. As you can see I have about a page you guy could fit one more but that’s it.
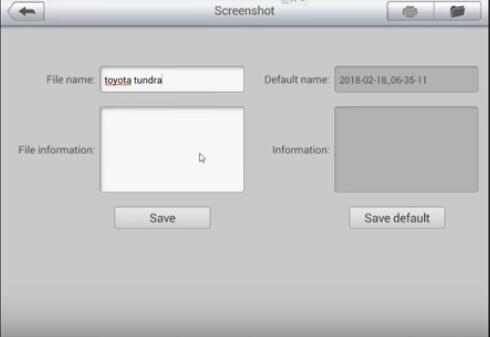
I would not try to do more than that at that point to record the data you’re going to click this button right here. It looks like a video camera says record. We’re gonna click on that at this point. It’s recording you can drive for however long you want to, it will continue to record, so that you don’t have to watch the scanner while you’re trying to drive this button right here, When you’re driving in the vehicle acts up you can quick reach over and hit the flag button while you’re driving and that will set a flag. When you’re going back through the data, it’ll show you where that problem was. I’ll go back through that in a little bit and show you guys how to. I’ll find these flags now your other option for saving data is right here. you click on you know bring this little toolbar down you click the save floppy disk and hit save this page. it’ll come up.
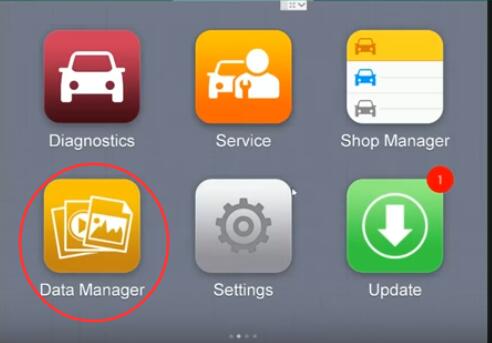
We can type in and just click just type in Toyota Tundra and hit save at that point, You’re done there, we’ll go back out okay now we’re gonna go right here to be able to get to your data and play it back we’re gonna go into Data Manager.
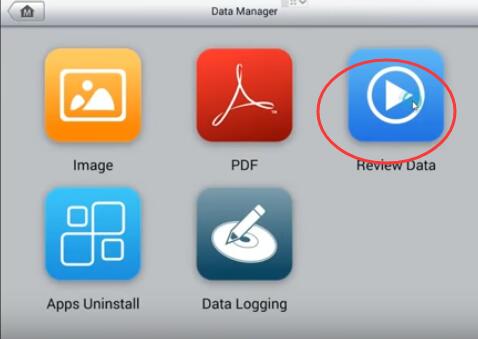
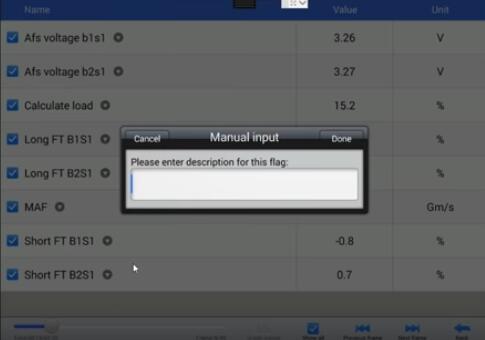
We’re gonna go to review data. I forgot to sorry guys I forgot a little spider here forgot to hit done um until you click that. It will not save so now. we’ll go here we’ll go to data manager hit review data and it’s right here this is the only part of the max assistance. I really don’t care for you have to scroll down through to find the stuff that you saved as you can see only the stuff that you had on that screen will be saved so.
It’s not hard to find it it’s just kind of a pain to have to scroll back down to find that stuff as you’re going so just click go down through here and select it all quick, and then you’re gonna click the show selected tab right there and that brings it back up this point you have a couple different options to review that data.
You can either click it by frame like this or if you want to go faster you can grab it and drag. let’s see if we can find that flag that we set right there so at this point you can enter a description if you want to we’re not gonna for now but at this point this would tell you that this is where it acted up so you had a problem right here at 15 seconds so now you can look at the data and say okay that’s where my problem was, so that’s how you play that back and that’s how you go about finding that.
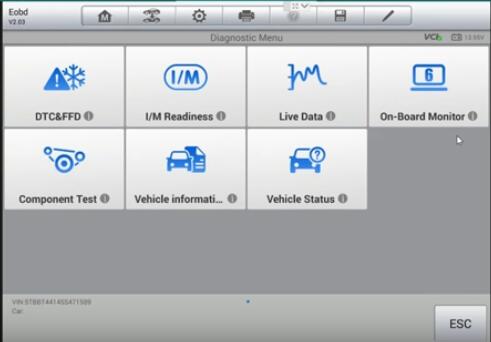
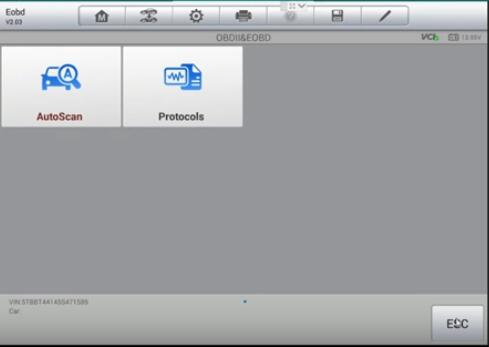
Now I’m going to show you how to get to just the screen that you saved. Go to images when you click that floppy disk it’ll be right in there and this is what you can see you have your screen saved right here, that’s what you how to get to that so now at this point you can print this off. If you want to through the maxis this pc suite, you just click that button right there and it’ll send it to the printer that your computer is hooked up to now. We’re gonna go through. I’m going to show everybody about mode 6 and OBD, so we got to go here we got to exit out of here, quick come up and tell us that our PC is still plugged in it’s out my outside OBD is where you’re gonna find mode 6 data what mode 6 data is good for is.
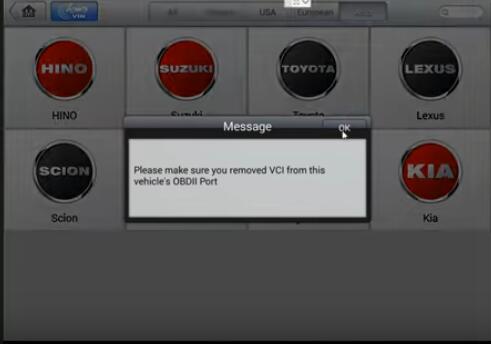
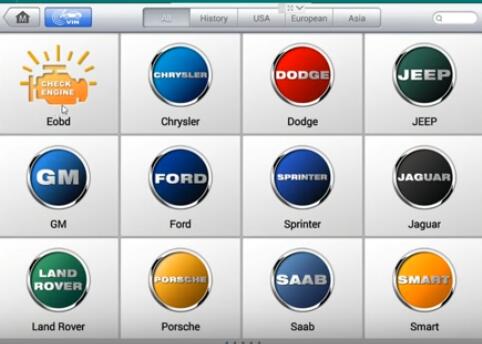
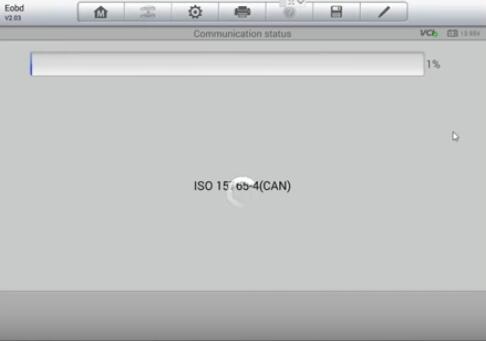
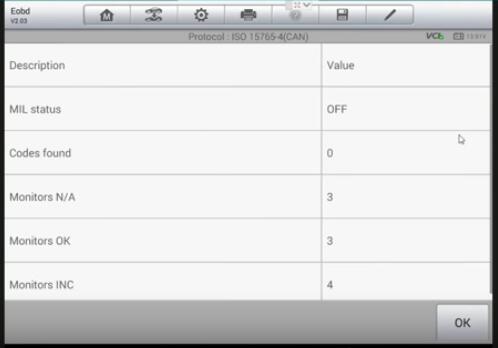
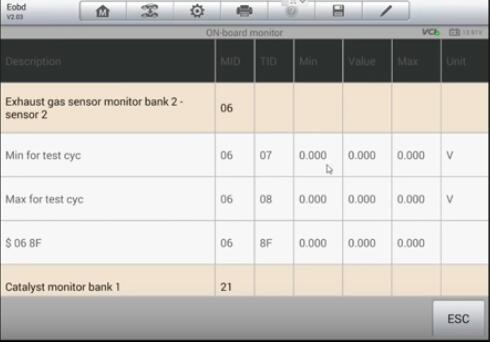
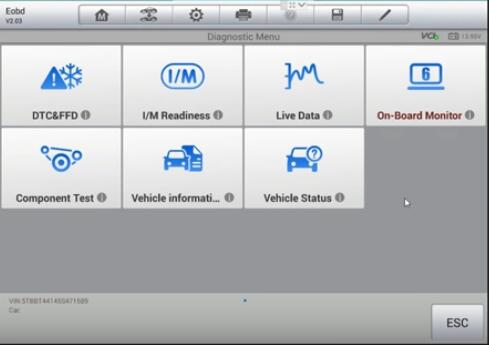
When you’re chasing a problem, you can’t get to reset so say you have a check engine light for a misfire code but the car comes you and it’s no longer misfiring so you’re wondering what cylinders were misfiring on was it one was it you know – was it an entire Bank something like that at this point you’re gonna click on onboard monitor numbers.
So this mod six data as this loads off basically. This is good for intermittent problems , you don’t you cannot clear the codes out before you check this. if you clear the codes before you check mode six data. The mode six data will be gone so keep that in mind. This is when you bring the car and scan it say it’s not misfiring anymore don’t clear with codes going check mode six data. I’ll show you how to do it within this fire basically these will be filled out this is a mode six data set when a check engine light code or mill is illuminated in the cars.
You know said yes it has a problem and flagged it at this point, Your values will be filled in. This truck doesn’t have a check engine light, so that’s why there’s nothing here. but I’m going to show you where to get into your misfire data. As your misfire data you can see you have misfire cylinder one misfire counts right here, One of these whichever cylinders are misfiring will have numbers the rest of them, There are not misfiring will not have numbers so at that point you can tell which ones were your problem cylinders at the time of the event things, like say you know just a single cylinder misfire you’ll only have one cylinder that has you know counting numbers there the rest will be zero. You might have you know there’s always a chance of having a companion cylinder that creates a misfire on another. but what you’ll notice in mode six data is that the cylinder that is causing the problem will always have the highest number of counts so that makes.
It a little bit easier to narrow it down. That’s pretty much the gist of trying to find intermittent problems and how to use a scanner to help you find intermittent problems through using the record functions. The data playback functions in mode six so hopefully this helps some people you can do this with other scanners not just the mac you can use TeamViewer.
This article is pubilced by Obd2tool.com.
