1. Preparation & Connections
Note: To make sure the tool is running the latest available software, it is advisable to check for updates on a frequent
basis. Refer to Section 2 “Register & Update” for details.
1. Preparation
1. Turn the vehicle ignition on. 2. Throttle should be in a closed position.
2. Vehicle Connection
1. Locate vehicle’s DLC socket: The DLC (Data Link Connector or Diagnostic Link Connector) is typically a standard 16-
pin connector where diagnostic code readers interface with a vehicle’s on-board computer. It is usually located 12
inches from the center of the steering wheel, under or around the driver’s side for most vehicles.
2. Connect the diagnostic cable into the vehicle’s DLC socket.
3. Plug the other end of diagnostic cable into the DB15 connector of the tool and tighten the captive screws.
2. Register & Update
Prerequisite conditions:
1. Go to http://launchtechusa.com and click “QUICK LINKS” –>“CRP123 Premium/LAUNCH CRP129 Premium Scanner Update” to download and install it on the computer.
2. System requirements: Windows XP, Windows 7, Windows 8,Windows 10 operating system.There are 2 methods available to update your tool. You may choose one of the following to proceed.
Method 1: Via TF Card
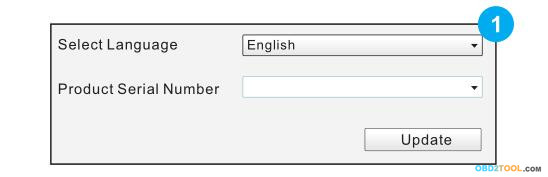
1. Launch the update tool, a screen similar to Figure 1 will appear:
2. In Figure 1, type in the Product Serial Number (located at the back of the tool).
Note: Once the Serial Number is entered, “Restore System” will become activated, which is used to restore system if a new TF card is replaced.
3. Click [Update] to jump to the registration page. Enter the following information and click [Submit] (refer to Figure 2).
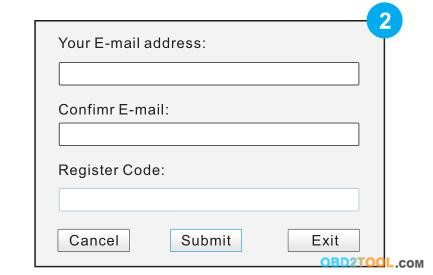
(If you need the Register Code, please refer to steps 4~7.)
(If you have the Register Code, directly proceed to step 8.)
4. The Register Code can be found in your tool. Connect one end of the supplied USB cord to your tool, and the other end on the computer.
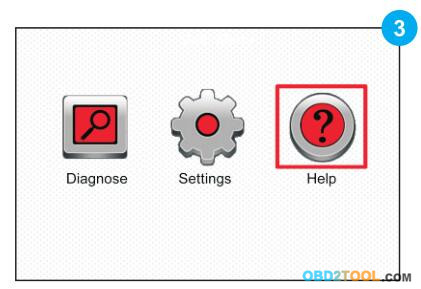
5. After the tool has powered up and entered the main menu screen,move the highlight bar on the “Help” icon (See Figure 3) and press [OK].
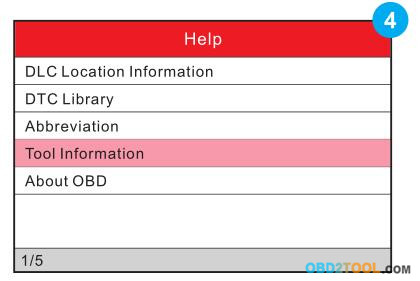
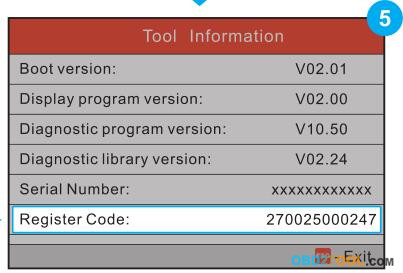
7. The Register Code shown in Figure 5 is the Register Code needed in step 3.(Return to step 3 and input the Register Code and then proceed)
8. Install the TF card from the tool into the supplied USB TF card adaptor and insert into the USB port of the computer.
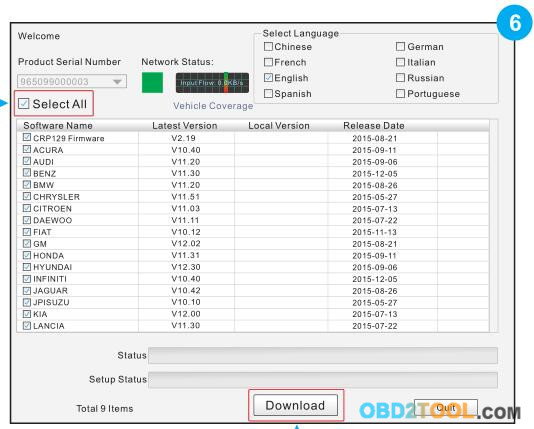
9. Reopen the update tool, select the updates you would like to perform or click “Select All”, and then click [Download] to start downloading. See Figure 6.
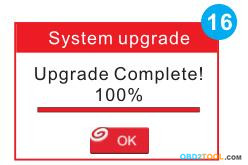
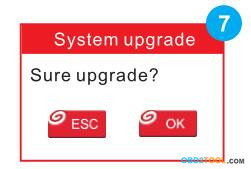
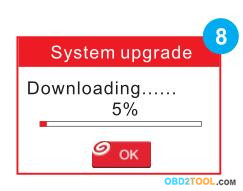
10.Once all steps are complete,reinsert the TF card into the tool and power the tool via USB cableor via OBD II cable. A dialog box(Note: If only diagnostic software is updated and no firmware package is downloaded in Figure 6, this box will not appear) prompting you to upgrade will pop up on the screen (See Figure 7 & Figure 8), select [OK].
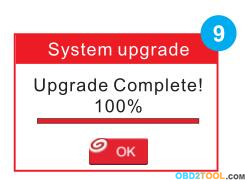
11.The registration process is now complete, your Launch X431 Scanner is now ready for use. See Figure 9.
Method 2: Via USB Cable
Note: Make sure the PC has an Internet connection.
1. Connect one end of the USB cable to the USB port of PC, and the other end to the tool.
2. If a newer version is found, a screen similar to Figure 10 will appear.
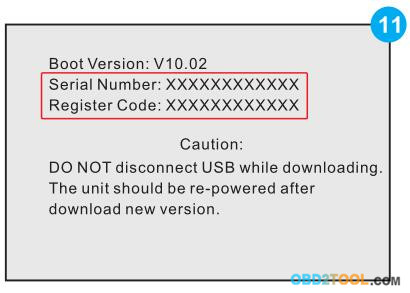
3. Press [OK] to configure this CRP 129P as a USB device. See Figure 11. Note: The Serial Number and Register Code shown in this figure are needed for inputting in Steps 4-6.)

4. Launch the update tool, a screen similar to Figure 12 will appear.
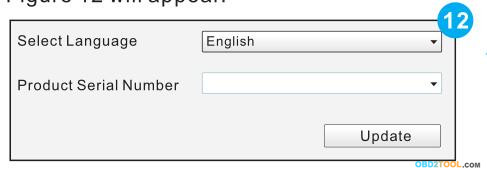
5. Type in the Product Serial Number.
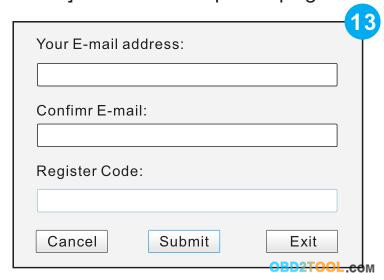
6. Click [Update] to jump to Figure 13. Input the following information and click [Submit] to enter the update page.
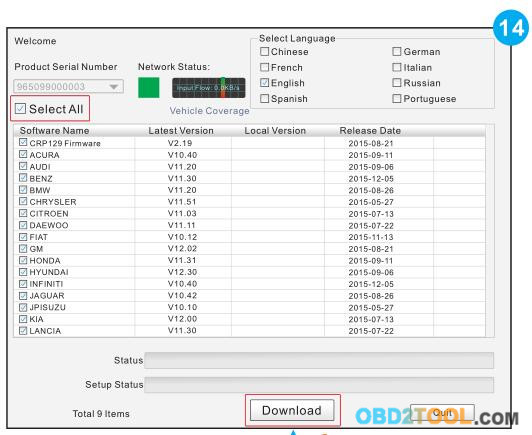
7. Select the updates you would like to perform or click “Select All”, and then click [Download] to start downloading.
See Figure 14.
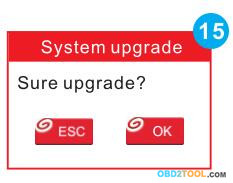
8. Once all steps are complete, restart your tool. It will prompt you to upgrade, click [OK] to start updating. It may take several minutes to finish the update.
9. The update process is complete, your tool is now ready for use