This post show a guide on how to set Nissan Consult III Plus VDR.Hope it helps,and if you want to know more about Nissan Consult 3 Plus,check:Nissan Consult 3 Plus Projects.
Procedures:
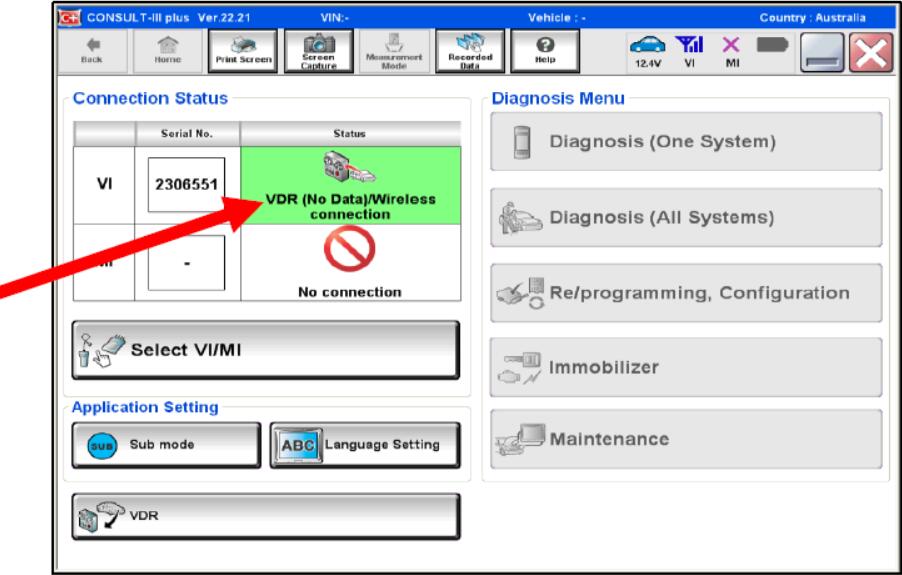
1.With CONSULT connected to the vehicle, select the “VDR” button.
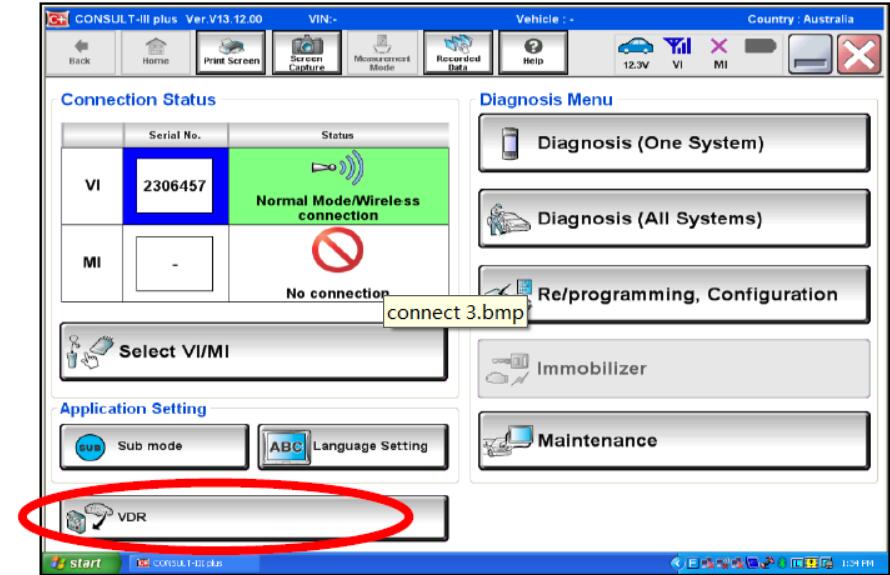
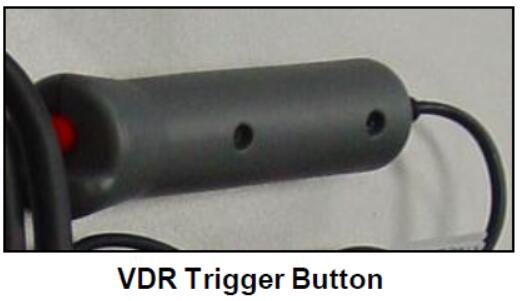
NOTE:The Trigger Button should be connected to the VI.
2.Select the correct vehicle, model and build date (not shown).
3.In this example we will select “ENGINE” (the screen then automatically progresses from here).
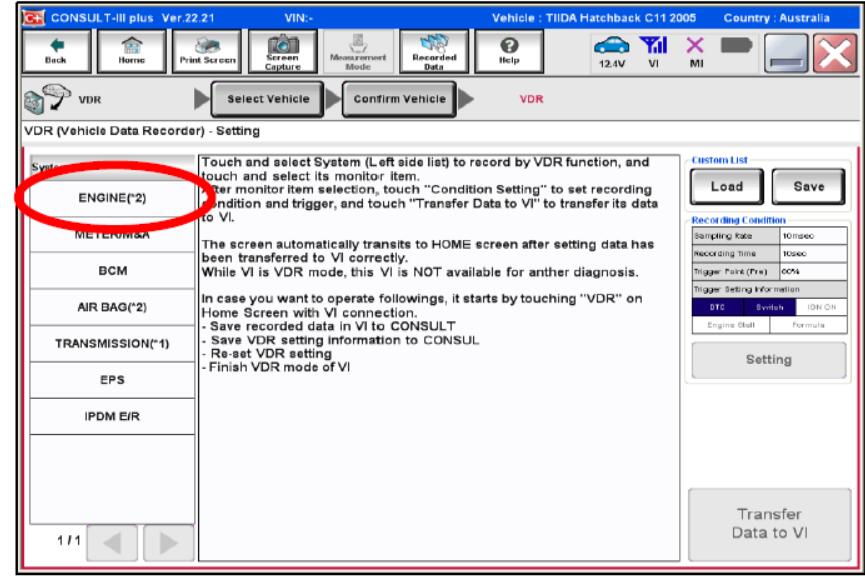
4.Touch the “Clear” button (un-highlights the pre-selected items).
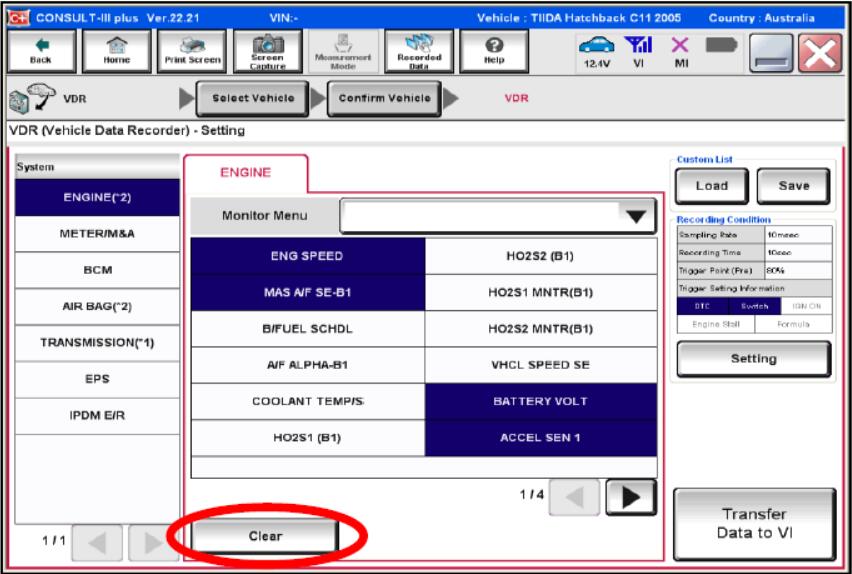
5.Touch the items that require recording such as;
-CKPS-RPM (TDC) -MAIN INJ WID
-ACCEL POS SEN -PUMP CURRENT
-ACT CR PRESS -INT/M PRES SE
-MAS AIR/FL SE* -EGR/V ANGLEVDR
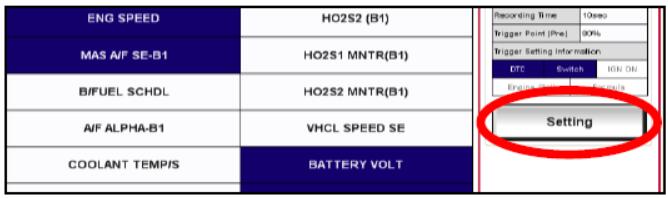
6.Touch the ”Setting” tab.
7.Reset the settings as follows:
Ideally the “sampling rate should be slowed down a little (20 m.sec)
It would also be suggested to increase the recording time to say 1 minute.
Change the trigger point to say 20% Pre and 80% Post.
8.Once all of the items that require recording & the settings have been set, select “Confirm
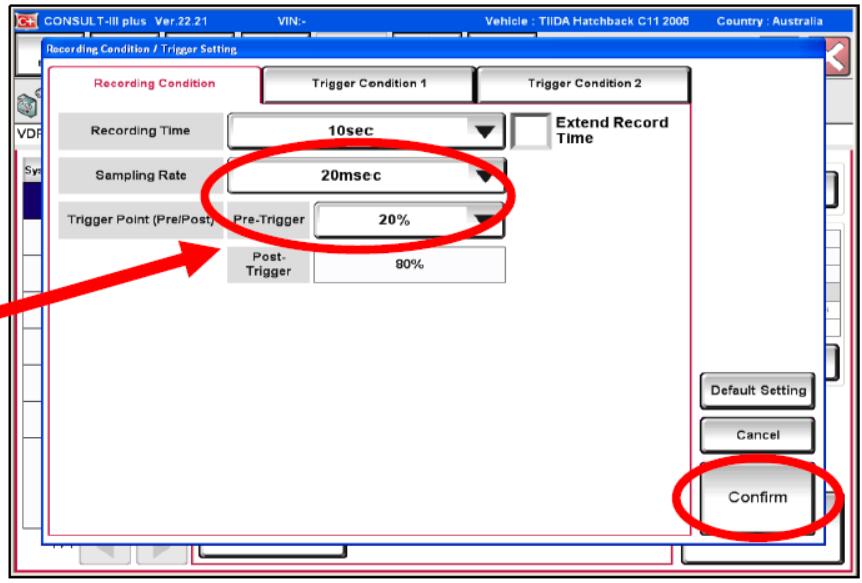
NOTE:The “Trigger Condition 1” tab can be used to set items such as an auto record on engine stall or when a DTC is set. Simply tick or un-tick the appropriate boxes as required.
9.Select:
(i) “Transfer Data to VI”.
(ii) Then select “Complete”, this locks the VI into the VDR mode.
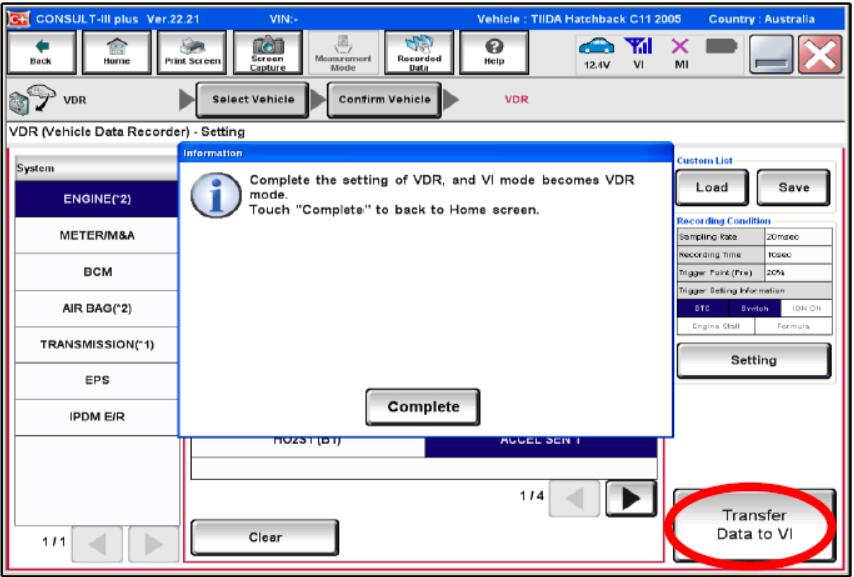
10.CONSULT automatically returns to the “Home” screen.CONSULT confirms it is in the VDRmode.The VI is to remain CONNECTED TO THE VEHICLE, however the CONSULT can be shut down.The vehicle can now be driven to capture relevant data when the fault occurs.
11.Reconnection of VDR (VI) to CONSULTAfter the road test and Data Recording activity is complete, switch ON CONSULT and connect the VDR via the normal method (or power up the VDR with it?s power adapter).
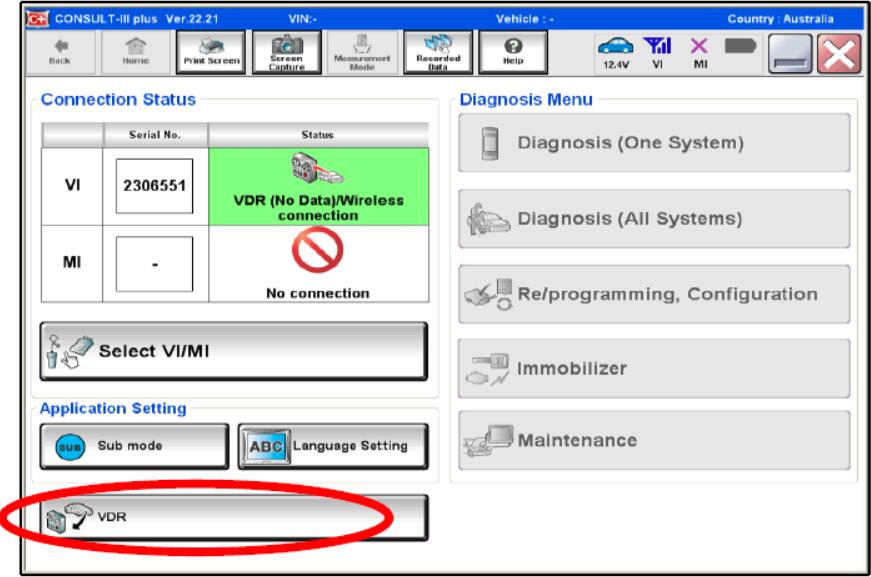
12.Select the “VDR” button.
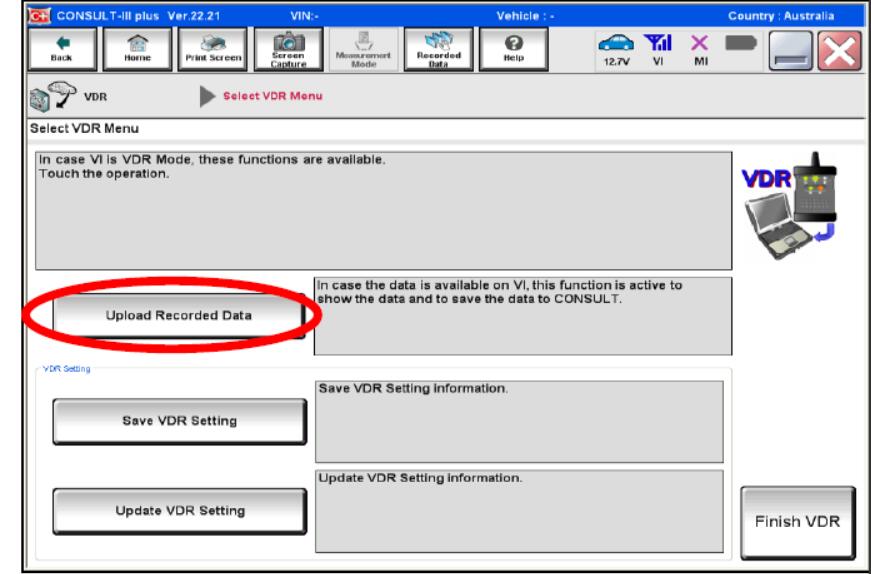
13.The screen shown right will appear. Make sure to select “Upload Recorded Data”
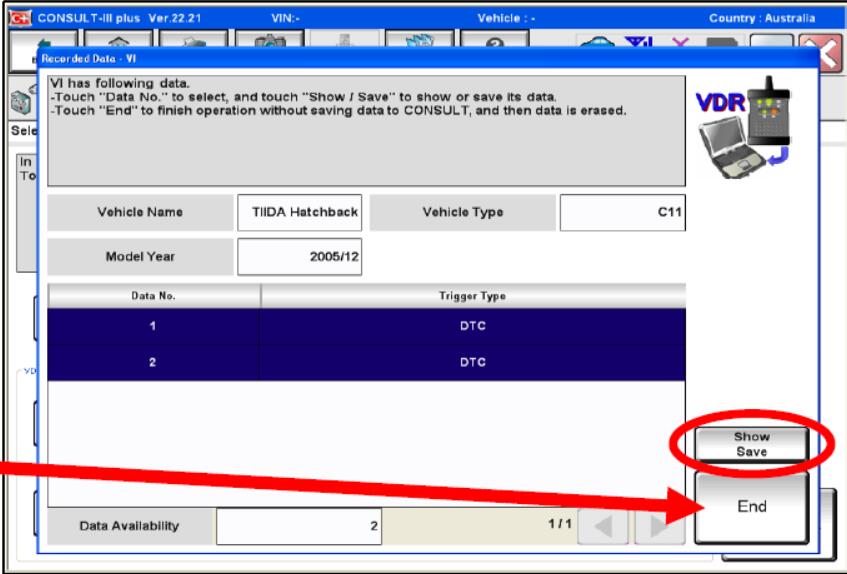
14.Select the file/s that you wish to upload.
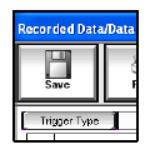
(i) Touch the “Show Save” button.
(ii) This displays the data graph/s (not shown).
(iii) Save the file/s using the “Save” icon. Remember to use the VIN as the file name.
(iv) Close the data graph/s.
(v) Select “End”.
(vi) Select “Confirm” to discard files in the VI (not shown).
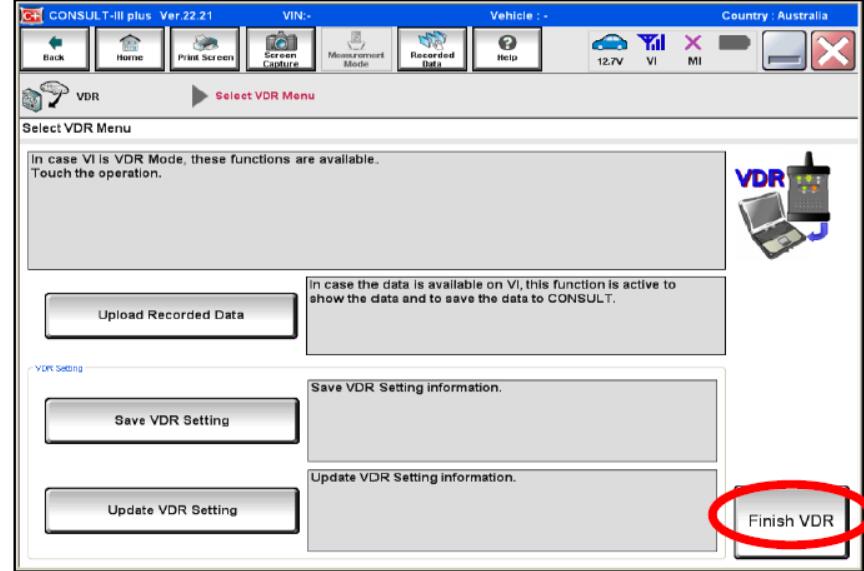
15.Select “Finish VDR” to return CONSULT and the VI to normal diagnosis mode.
Press “Confirm” to erase all VDR files stored in the VI.
CONSULT then automatically returns to the “Home” screen.
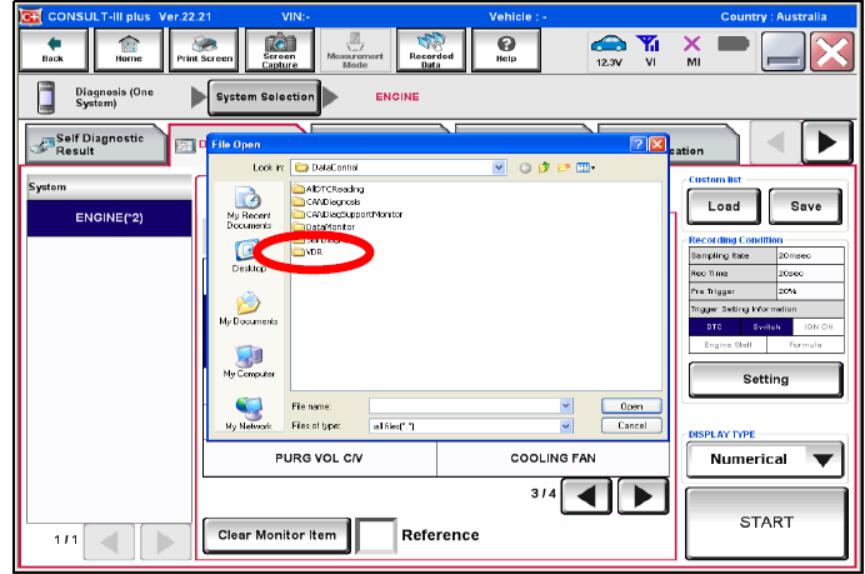
16.Access your saved data from the “Recorded Data” folder.
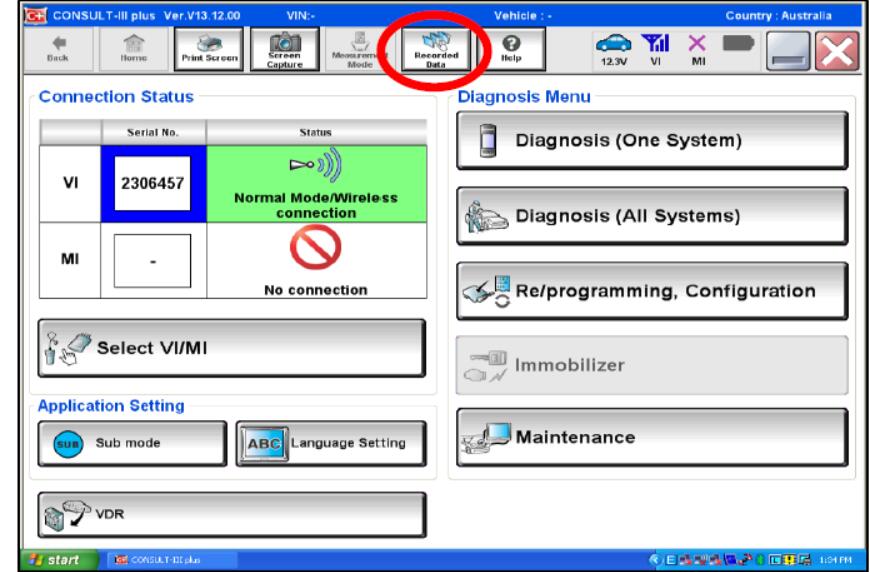
17.Select VDR to access and review your saved files.